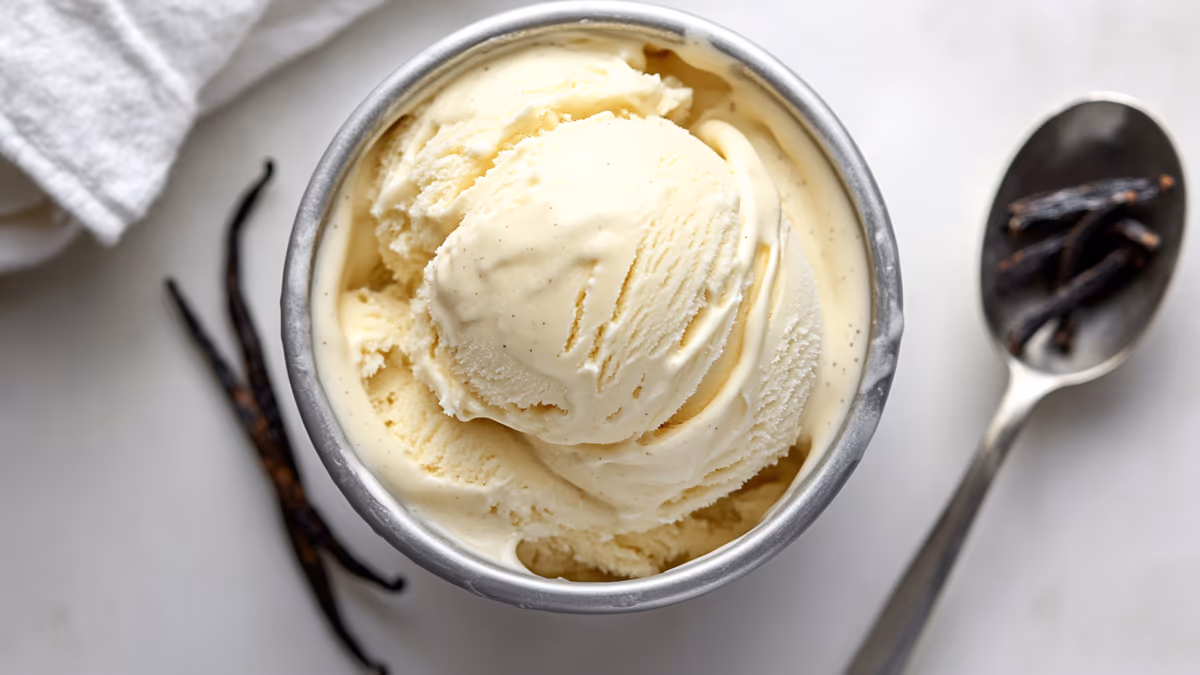
Advanced Techniques: Layered Creations
Level Up Your Creami Game
Once you've mastered the basics of Ninja Creami ice cream, it's time to explore techniques that transform a simple pint into something truly special. These layering methods create visual drama and complex flavor combinations that rival artisan ice cream shops. None of them are difficult, but they do require a bit of patience and planning.
Sauce Ribbons
Sauce ribbons are the easiest way to add visual appeal and bursts of flavor throughout your ice cream. The key is adding the sauce before freezing, not after processing. Here's the technique:
- Pour half your base into the pint
- Drizzle your sauce in a zigzag pattern. Caramel, hot fudge, peanut butter, or Nutella all work beautifully.
- Drag a butter knife through the sauce in a figure-eight pattern to create ribbons
- Pour the remaining base on top
- Repeat the drizzle and knife drag on the surface
- Freeze for the full 24 hours and process normally
The Creami blade will partially mix the ribbons during processing, creating organic swirls throughout the ice cream. Thicker sauces hold their shape better than thin ones. Caramel and peanut butter create the most defined ribbons, while chocolate sauce tends to blend more evenly.
Flavor Layers
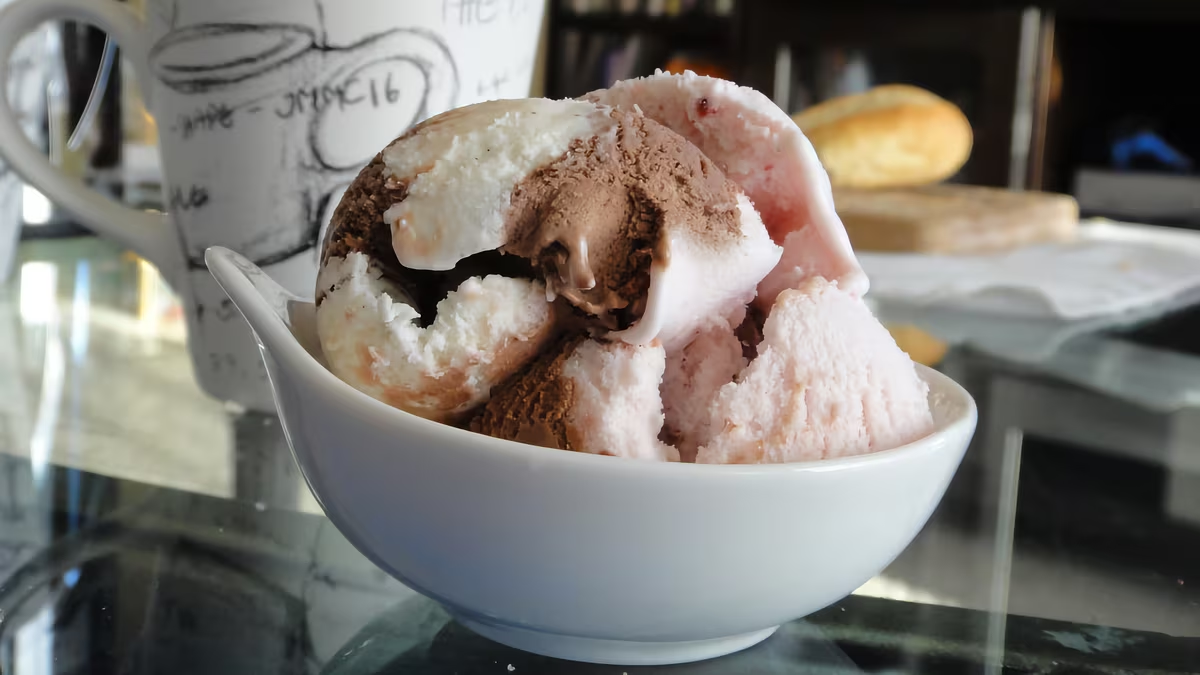
Multi-flavor pints are a showstopper when you cut into them. The process takes longer because each layer needs to firm up before adding the next, but the marble effect when the Creami processes them is worth every minute.
- Pour your first flavor to about 1/3 of the pint
- Freeze for 2-3 hours until the surface is firm to the touch
- Pour your second flavor to about 2/3 full
- Freeze another 2-3 hours until firm
- Pour your final flavor to the top
- Freeze the full 24 hours from this point
- Process on your normal program
The blade creates a beautiful marble effect as it works through the different colored layers. Try chocolate and vanilla, strawberry and cheesecake, or mint and cookie dough. Contrasting colors look the most dramatic. Each layer can be a completely different recipe, so the flavor possibilities are endless.
Hidden Centers
Imagine biting into your Creami ice cream and hitting a pocket of warm caramel or a chunk of frozen peanut butter. That's the hidden center technique, and it's simpler than it sounds.
- Fill the pint halfway with your base
- Place a frozen ball of filling in the center. Caramel, peanut butter, fruit compote, cookie butter, or Nutella all work. Freeze the filling into balls on a sheet pan first so they hold their shape.
- Fill the rest of the pint with your base, making sure the filling is fully covered
- Freeze and process normally
The filling partially breaks apart during processing, creating pockets of concentrated flavor throughout the ice cream rather than one large center. This is actually better than a single hidden core because you get surprise bursts in every few bites.
Cookie Dough Chunks
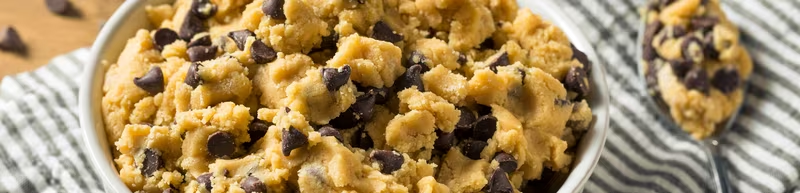
Cookie dough chunks are the most popular mix-in for Creami ice cream, and there's a specific technique that keeps them intact during processing. The Creami blade is powerful enough to break apart soft additions, so the trick is freezing them solid first.
Roll safe-to-eat cookie dough into small balls (about marble-sized) and freeze them on a parchment-lined sheet pan for at least 2 hours. Once frozen solid, drop them into your base before the 24-hour freeze. The small, frozen pieces survive the blade much better than large, soft chunks. You'll get perfect bites of cookie dough distributed throughout your ice cream.
This technique works for any solid mix-in: brownie pieces, candy bar chunks, frozen fruit pieces, or even small scoops of a different ice cream flavor. The rule is always the same. Freeze it solid first, keep the pieces small.
Tips for Success
- Expect some mixing: The blade will partially blend your layers and ribbons. This creates a beautiful marbled effect rather than perfectly distinct layers. That's the charm of the Creami.
- Thicker is better: Thicker sauces create better-defined ribbons. Thin syrups tend to dissolve into the base during freezing.
- Pre-freeze everything solid: Any mix-in that isn't frozen will get pulverized by the blade. Freeze first, add second.
- Contrast your colors: Chocolate with vanilla, strawberry with cheesecake, or matcha with vanilla create the most visually striking results.
- Don't overfill: Leave a small gap at the top of the pint even with layers. The ice cream needs a tiny bit of room during processing.
Compote Swirls
A compote swirl is the refined version of a jam swirl. Cook fresh or frozen fruit with a tablespoon of sugar and a squeeze of lemon juice until the fruit breaks down and the mixture thickens into a concentrated sauce. Let it cool completely before layering into the pint. The advantage of a compote over raw fruit is that the cooking removes excess water and concentrates the flavor, preventing the icy pockets that raw fruit can create.
The best compote swirls: raspberry compote in vanilla, blueberry compote in lemon, strawberry compote in cheesecake, and cherry compote in chocolate. A well-made compote holds its shape during processing and creates defined, jewel-colored ribbons that look spectacular when you scoop.
Double Processing: The Two-Pint Technique
The most advanced layering technique uses two separately processed pints to create a single finished product. Process pint A (chocolate) and pint B (vanilla) separately. While both are still soft from processing, scoop alternating spoonfuls of each flavor into a third pint container. Gently press down to eliminate air gaps, snap on the lid, and freeze. When served, each scoop contains random chunks of both flavors in a dramatic mosaic pattern.
This technique requires three pint containers and twice the processing time, but the visual result is unlike anything a single pint can produce. The two flavors maintain their individual texture and identity rather than blending into each other, giving you genuine two-flavor ice cream that tastes like two distinct ice creams in every bite.
Combining Techniques
The real mastery comes from combining multiple techniques in a single pint. Picture this: a vanilla base with a caramel ribbon (sauce ribbon technique), a chocolate layer in the middle (flavor layer technique), frozen cookie dough balls throughout (cookie dough chunk technique), and a pocket of peanut butter in the center (hidden center technique). Every bite is different from the last, and the visual complexity when you scoop is stunning.
Start by mastering one technique at a time. Once you can consistently execute sauce ribbons, move on to flavor layers, then hidden centers, then combine two techniques in one pint. Within a few weeks of practice, you will be creating pints that look and taste like they came from a high-end ice cream shop — because the techniques are the same ones the professionals use.