Extra Pint Containers: Which Are Best?
This post contains affiliate links. If you make a purchase through these links, we may earn a small commission at no extra cost to you.
This post contains affiliate links.
Why Extra Pints Are the First Accessory You Should Buy
The Ninja Creami comes with 2 pint containers. That is enough to get started but not enough to use the machine to its full potential. The magic of the Creami is that you can prep bases days or weeks in advance and process them whenever you want. But you can only do this if you have pints to store those bases in. Two pints means two flavors in the freezer. Ten pints means ten flavors ready to go at any moment.
Extra pints are cheap, they last essentially forever, and they are the single upgrade that makes the biggest difference in how often and how creatively you use your Creami. Every experienced Creami owner will tell you the same thing: buy more pints before you buy anything else.
Official Ninja Pints
16-ounce Pints (Standard Models)
The official Ninja CREAMi pint containers are the safest and most reliable option. They are made specifically for the machine, they fit perfectly every time, and there are zero compatibility concerns. The plastic is food-grade, BPA-free, and rated for freezer temperatures. They come with snap-on storage lids for freezing.
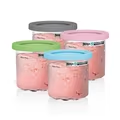 Ninja CREAMi Pint Container 4-PackView on Amazon →
View on Amazon →
The standard 16-ounce pints work with every Creami model except when used with the Deluxe 24-ounce bowl. They are sold in 2-packs and 4-packs. The 4-pack is always the better value, and if you are serious about using your Creami regularly, start with at least one 4-pack (giving you 6 total pints including the 2 that came with the machine).
24-ounce Pints (Deluxe Models)
If you have the Creami Deluxe or XL Deluxe, you need the larger 24-ounce pints. These are not interchangeable with the 16-ounce pints. The Deluxe motor and blade assembly are designed for the larger container, and using the wrong size will either not fit or process incorrectly.
 CREAMi Deluxe 24 oz Pint Containers 4-Pack24 oz replacement pints compatible with Ninja CREAMi Deluxe NC501/NC500 — color-coded lids, BPA-free, dishwasher safe
View on Amazon →
The 24-ounce pints follow the same buying logic: get at least a 4-pack on top of the 2 included pints. The larger capacity means each pint makes 50% more ice cream, which is great for families but also means you might be tempted to buy fewer extras. Resist that temptation. Having 6-8 Deluxe pints in rotation lets you meal prep an entire week of desserts.
Third-Party Pint Containers
Several third-party brands sell Creami-compatible pint containers, usually at a lower price than official Ninja pints. The quality varies.
What to Look For
- Exact dimensions: the pint must fit snugly in the outer bowl. Even a millimeter of play can cause the pint to shift during processing, resulting in uneven ice cream or the blade missing spots.
- Food-grade plastic: make sure the container is BPA-free and rated for freezer use. Cheap plastics can crack at low temperatures.
- Compatible lids: the lid should seal tightly enough to prevent freezer burn during long-term storage.
- Dishwasher safe: most official and quality third-party pints are top-rack dishwasher safe.
Our Experience
We have tested several third-party pint options. The majority work fine for basic use. The most common issue is a slightly loose fit in the outer bowl, which can cause a rattling sound during processing. This does not affect the ice cream quality in most cases, but it is noticeable and some users find it annoying.
The other issue with some third-party pints is lid quality. The storage lids on cheaper options do not always seal as tightly as the official Ninja lids, which can lead to freezer burn if the pint is stored for more than a week. If you go third-party, consider buying separate silicone lids for long-term freezer storage.
Our Recommendation
For most people, official Ninja pints are the way to go. The price difference between official and third-party is typically only a few dollars per pint, and the guaranteed perfect fit and seal are worth that small premium. The exception is if you want a large number of pints (10+) purely for base storage and do not mind the occasional loose fit. In that case, third-party pints for storage plus official pints for processing is a reasonable combination.
How Many Pints Do You Actually Need?
This depends entirely on how you use your Creami.
Casual User (1-2 pints per week)
Total needed: 4-6 pints
You make ice cream occasionally, usually processing a pint and eating it over a few days. Four to six pints gives you enough to have 2-4 bases freezing while you work through the current one. This is enough for weekend treat-making without feeling like you need a dedicated freezer.
Regular User (3-5 pints per week)
Total needed: 8-10 pints
You make ice cream most days, you meal prep protein ice cream for the week, or you regularly make ice cream for your family. Eight to ten pints gives you a full week of variety in the freezer at all times. This is the sweet spot for most dedicated Creami owners.
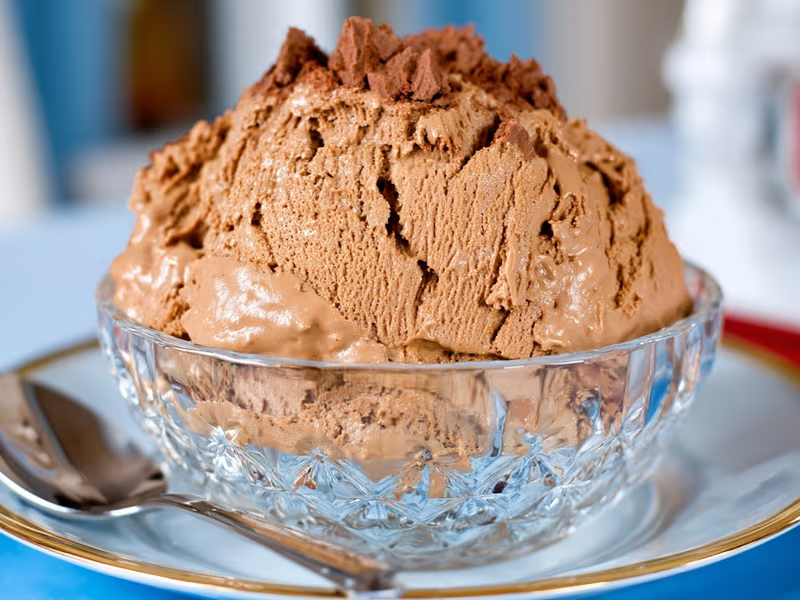
Chocolate Protein Ice Cream
High-protein, low-calorie chocolate ice cream that tastes like a fudge brownie. Perfect for fitness enthusiasts who refuse to give up dessert.
Power User (5+ pints per week)
Total needed: 12-16 pints
You host ice cream parties, you meal prep extensively, you run a food blog, or you simply love having a huge variety of flavors available at all times. This many pints lets you prep a full two weeks of bases in a single session. At this level, you probably need to think about freezer organization.
Storage Lids and Alternatives
The standard plastic snap-on lids that come with Ninja pints are functional but basic. They seal well enough for a week or two of freezer storage but can let air in over longer periods, leading to ice crystal formation on the surface of your base.
Silicone Lids
Aftermarket silicone lids create a tighter seal than the standard plastic lids. They press down onto the base and conform to the surface, reducing the air gap that causes freezer burn. If you store bases for more than 2 weeks before processing, silicone lids are worth the investment.
Plastic Wrap Method
The cheapest solution for long-term storage: press a piece of plastic wrap directly onto the surface of the base before snapping on the standard lid. The plastic wrap eliminates the air gap completely. This works as well as silicone lids and costs almost nothing. Many experienced Creami users swear by this method.
Labeling
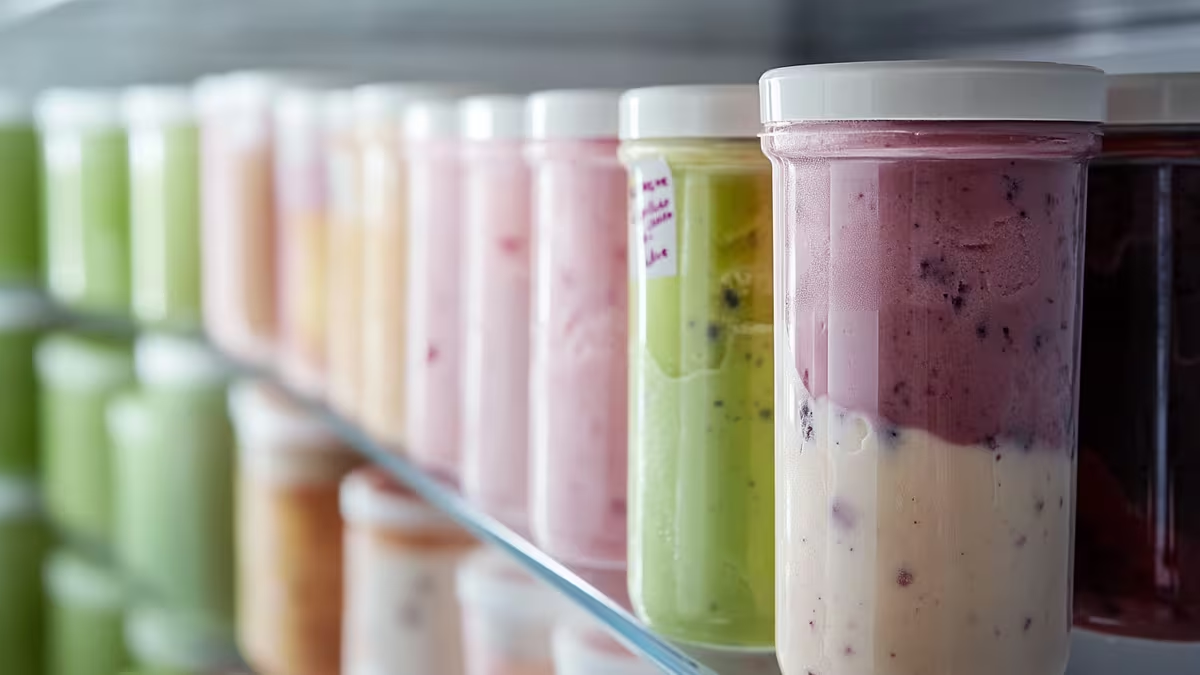
Once you have more than 4-5 pints in the freezer, labeling becomes essential. Frozen bases all look remarkably similar, and guessing wrong means processing a protein base when you wanted chocolate fudge.
Labeling options:
- Masking tape and marker: the simplest and most popular method. Write the flavor name and date, stick it to the lid or side. Easy to remove and replace.
- Dry-erase marker on the lid: write directly on the plastic lid with a dry-erase marker. Wipes off easily when you want to reuse the pint.
- Color-coded rubber bands: wrap a colored rubber band around each pint. Red for berry flavors, brown for chocolate, green for mint, etc. Quick visual identification without reading labels.
- Printed labels: if you are really organized, print small labels with the flavor name, date, and ingredients. This is helpful if you have family members with allergies.
Freezer Organization
The Rotation System
Place newly frozen pints at the back of the freezer and pull from the front. This first-in-first-out system ensures you always process the oldest base first, preventing any pint from sitting forgotten for months.
Dedicated Space
If possible, dedicate one freezer shelf or drawer to Creami pints. This prevents them from getting buried behind frozen vegetables and forgotten leftovers. A dedicated space also makes it easy to see at a glance how many bases you have ready and which flavors are available.
Stacking
Creami pints stack neatly. With storage lids on, you can safely stack 3-4 pints on top of each other. Make sure the bottom pint has been in the freezer long enough to be frozen solid before stacking anything on top. The weight of stacked pints on an unfrozen base can cause the lid to pop off or the base to spill.
Cleaning and Care
Creami pints are dishwasher safe (top rack) but many users find that hand washing is faster and prevents the gradual clouding that dishwasher detergent causes on clear plastic over time. A bottle brush reaches the bottom of the pint easily.
Never use abrasive scrubbers or steel wool on the pints. Scratches in the plastic can harbor bacteria and make the pints harder to clean in the future. A soft sponge and regular dish soap is all you need.
Inspect your pints periodically for cracks, warping, or deep scratches. A cracked pint can leak during processing, and a warped pint may not fit properly in the outer bowl. Replace damaged pints rather than risking a mess or an improperly processed batch.
Ninja CREAMi Pint Container 4-PackView on Amazon →View on Amazon →