Complete Beginner's Guide to the Ninja Creami
What Is the Ninja Creami?
The Ninja Creami is a countertop appliance that transforms frozen bases into ice cream, sorbet, gelato, milkshakes, smoothie bowls, and more. Unlike traditional ice cream makers that churn liquid as it freezes (taking 30-60 minutes), the Creami works in reverse: you freeze your base solid for 24 hours, then the machine processes it in about 2 minutes.
This reversed approach is what makes the Creami special. Because the base is already frozen solid, the blade creates an incredibly smooth texture by shaving and folding microscopic ice crystals. The result is ice cream that rivals professional shops, made from ingredients you control, in your own kitchen.
Your First 24 Hours
Step 1: Unbox and Wash
Remove all packaging and wash the pint containers, lids, and outer lid in warm soapy water. The motor base should only be wiped with a damp cloth. Never submerge the motor base in water.
Step 2: Make Your First Base
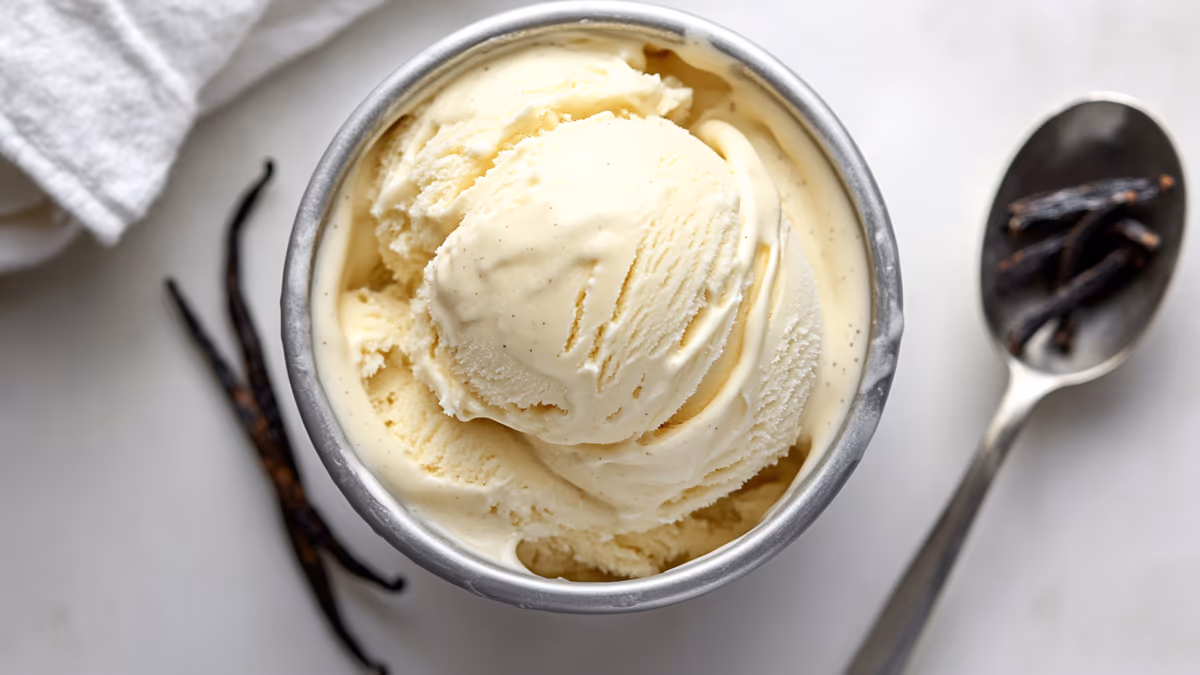
Start with the simplest possible recipe: vanilla ice cream. This teaches you the basic process without the complexity of mix-ins, swirls, or unusual ingredients.
Simple Vanilla Base:
- 1 cup heavy cream
- 3/4 cup whole milk
- 1/3 cup sugar
- 2 teaspoons vanilla extract
- 1 tablespoon cream cheese (softened)
Whisk everything together until the sugar dissolves and the cream cheese is fully incorporated. Pour into the Creami pint, leaving 1/4 inch of headspace at the top. Snap on the storage lid and freeze for a full 24 hours.
Step 3: Process
Remove the pint from the freezer. Take off the storage lid and place the pint in the outer bowl. Lock the outer lid in place and select the Ice Cream program. The machine will process for about 2 minutes.
Step 4: The First Look
When the machine stops, remove the lid. Your ice cream will look slightly rough on top. This is normal. Take a spoon and stir the top layer gently to smooth it out. If the texture is crumbly or dry, do a Re-Spin (run the Ice Cream program again). Most first attempts benefit from one Re-Spin.
Step 5: Eat Immediately
Creami ice cream is best eaten fresh. It does not have the stabilizers and air (overrun) that keep commercial ice cream soft for hours. Scoop and serve within 30 minutes of processing for the best texture. If you refreeze it, let it sit at room temperature for 3-5 minutes before scooping next time.
The 5 Rules Every Beginner Needs
Rule 1: Freeze for Exactly 24 Hours
Not 12 hours. Not 18. A full 24 hours. The base needs to be frozen completely solid with no liquid center. Under-frozen bases produce grainy, uneven results because the blade cannot process properly. Set a timer.
Rule 2: Use Full-Fat Ingredients
Fat prevents ice crystals. Heavy cream (36% fat) produces dramatically better results than half-and-half (12% fat) or milk (3.5% fat). Every successful Creami recipe starts with enough fat. This is not the place to cut calories. If you want lighter results, use the Frozen Yogurt or Lite Ice Cream programs with Greek yogurt bases.
Rule 3: Cream Cheese Is Your Secret Weapon
A tablespoon of softened cream cheese in any base makes it smoother, denser, and more scoopable. The emulsifiers in cream cheese bind water and fat together, preventing the large ice crystals that cause grainy texture. Every experienced Creami user adds cream cheese. It is the single biggest improvement you can make to any recipe.
Rule 4: Re-Spin Is Not Failure
If the first processing looks crumbly, dry, or uneven, run it again. This is called a Re-Spin and it is completely normal, especially for protein bases and low-fat recipes. Most ice cream needs 1 Re-Spin. Protein ice cream often needs 2-3. Let the pint sit at room temperature for 2-3 minutes between spins if the base is very hard.
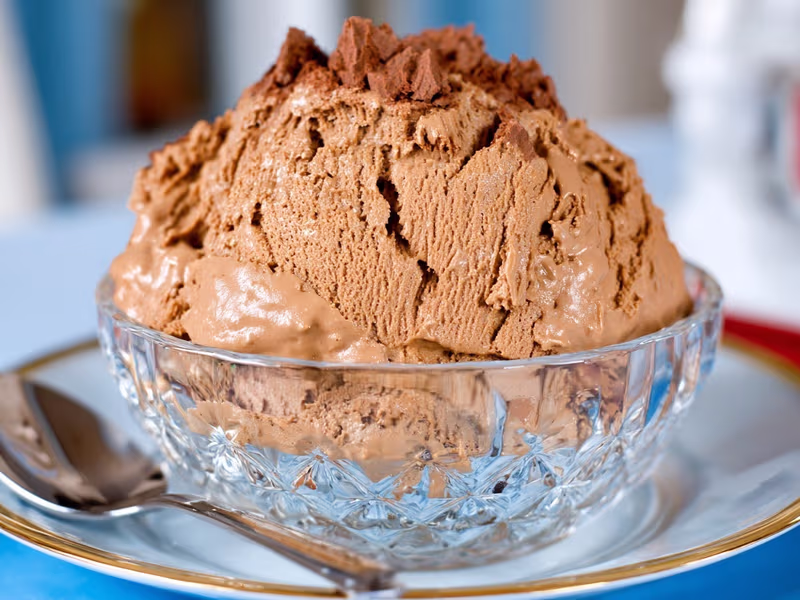
Chocolate Protein Ice Cream
High-protein, low-calorie chocolate ice cream that tastes like a fudge brownie. Perfect for fitness enthusiasts who refuse to give up dessert.
Rule 5: Headspace Matters
Leave about 1/4 inch of space between your base and the top of the pint. Overfilling causes the base to push up against the lid during freezing, which can crack the lid and cause uneven processing. Underfilling wastes capacity. The fill line on the pint is your guide.
Common First-Timer Mistakes
Mistake: Using Skim Milk or Low-Fat Cream
Results: hard, icy ice cream that tastes watery. Fix: always use heavy cream and whole milk. The fat is not optional.
Mistake: Not Letting the Base Cool Before Freezing
If you heat ingredients (like dissolving sugar or melting chocolate), let the base cool to room temperature before pouring into the pint. Hot liquid in a cold freezer creates large ice crystals on the outside while the center stays warm. This uneven freezing produces grainy results.
Mistake: Adding Mix-Ins Before Processing
Chocolate chips, cookie pieces, and other solid add-ins should go in AFTER the first spin, using the Mix-In program. Adding them before freezing can cause the blade to jam or process unevenly.
Mistake: Expecting Store-Bought Texture
Creami ice cream is denser and less airy than commercial ice cream because it has almost no overrun (air whipped in). This is not a flaw. It means the flavor is more concentrated and the texture is more like gelato. Once you get used to it, commercial ice cream tastes hollow by comparison.
What to Make Next
After your first vanilla, try these in order of increasing complexity:
- Chocolate Ice Cream: add 3 tablespoons cocoa powder to the vanilla base
- Strawberry Sorbet: blend strawberries with sugar and lemon juice (no dairy needed)
- Cookie Dough Ice Cream: vanilla base + frozen cookie dough chunks as mix-in
- Protein Ice Cream: protein powder + milk + cream cheese + sweetener
Each recipe teaches you a new technique (cocoa powder incorporation, fruit bases, mix-ins, protein handling) that builds your skills for more advanced recipes.