Best Food-Safe Containers for Batch Prepping
This post contains affiliate links. If you make a purchase through these links, we may earn a small commission at no extra cost to you.
Official Ninja Pint Containers
The single best investment for any Creami owner is extra pint containers. With only 2 pints included, you're limited to prepping 2 flavors at a time. A 4-pack lets you batch-prep an entire week of flavors in one session. Fill them all on Sunday, freeze, and process one whenever the craving hits.
Always go with official Ninja pints over third-party alternatives. The tolerances are exact, the lids seal properly to prevent freezer burn, and they survive hundreds of dishwasher cycles. Third-party pints sometimes have slightly different dimensions that can cause problems during processing.
 Ninja CREAMi Pint Container 4-PackView on Amazon →
View on Amazon →
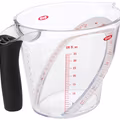
For Mixing Bases
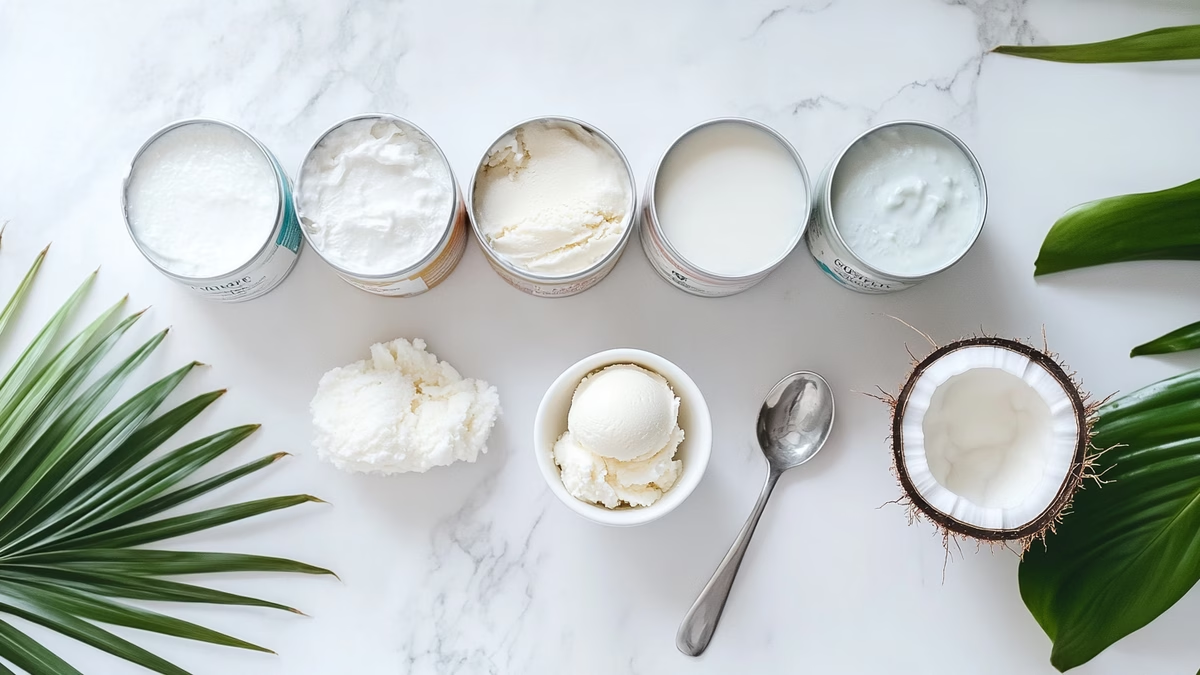
A large measuring pitcher is the unsung hero of Creami meal prep. You can whisk your entire base directly in the pitcher, read the volume markings to ensure the right amount, and pour cleanly into the pint through the spout. No more awkward bowl-to-pint transfers that spill everywhere. A 1-liter pitcher is the ideal size for single-pint recipes. For double batches, go with a 2-liter.
 OXO Good Grips Measuring PitcherView on Amazon →
View on Amazon →
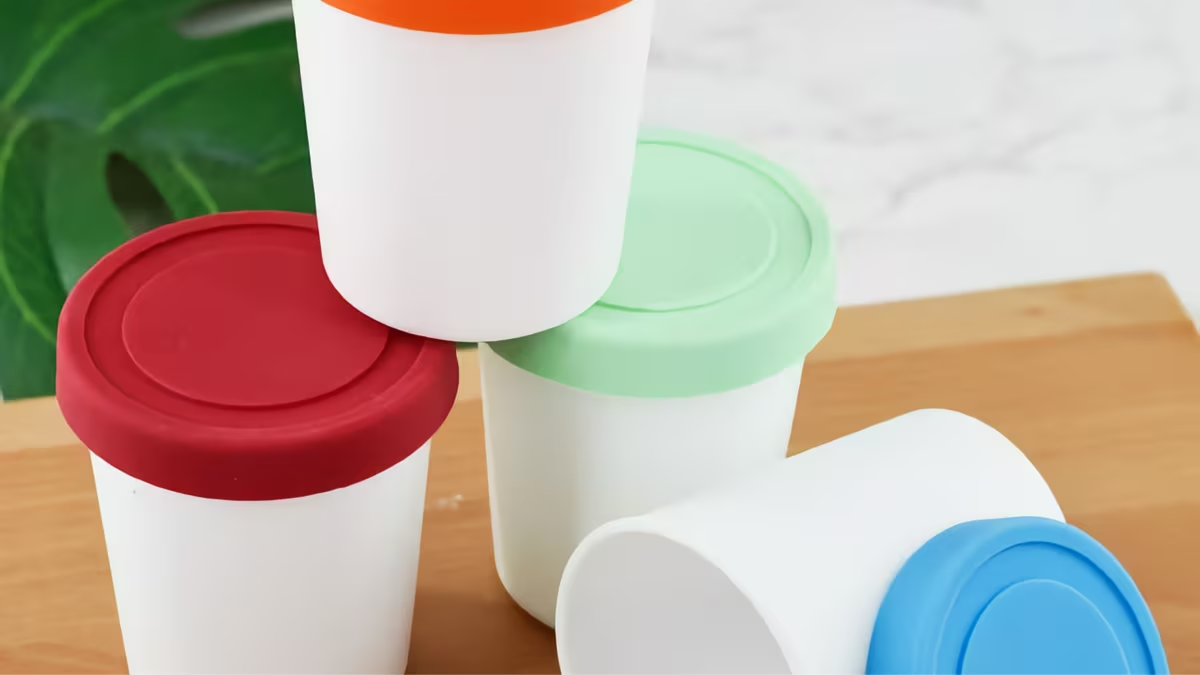
For Storing Processed Ice Cream
Once you process a pint, you might want to transfer the ice cream to a separate container so you can reuse the Ninja pint for your next batch. Insulated containers are ideal because Creami ice cream softens faster than store-bought (it lacks commercial stabilizers and overrun). A good insulated container keeps it at the right consistency for scooping even after a few days in the freezer.
 Sumo Ice Cream Containers (Insulated)View on Amazon →
View on Amazon →
These double-walled insulated containers maintain the perfect serving temperature and prevent the rapid temperature fluctuations that cause ice crystals to form on the surface.
For Labeling
When you have 6+ pints in your freezer, you need a labeling system. Unlabeled pints all look identical once frozen, and guessing wrong means defrosting a pint you didn't want.
- Masking tape + permanent marker: The cheapest option and what most people use. Write the flavor name and freeze date. Peels off easily when you're done.
- Freezer labels: These are designed for cold temperatures and peel off cleanly without residue. Available in multiple colors so you can color-code by flavor type.
- Label maker: If you prep weekly, a label maker pays for itself in convenience. Clean, legible labels every time, and they look professional in your freezer.
Organization Tips
A well-organized freezer makes the difference between enjoying your Creami habit and getting frustrated by it.
- Stack pints vertically: They take up less footprint and you can read the labels without pulling them out.
- Group by flavor type: Keep chocolate with chocolate, fruit with fruit. When you're craving something specific, you can find it instantly.
- Use a freezer basket or bin: A dedicated container for your Creami pints prevents them from getting lost behind frozen vegetables. Wire baskets work well because cold air circulates freely.
- Always write the freeze date: Creami bases are best within 2-3 weeks of freezing. Older pints still work but can develop a slightly icier texture. First in, first out.
For Individual Portions
Small 4-ounce deli containers with lids are perfect for pre-portioning processed ice cream. Process a pint, scoop individual servings into 4-ounce containers, snap on the lids, and freeze. Each container is a single serving that you can grab from the freezer without processing or re-spinning. This is especially useful for protein ice cream meal prep — make a batch on Sunday, portion into 4 containers, and grab one each day after a workout.
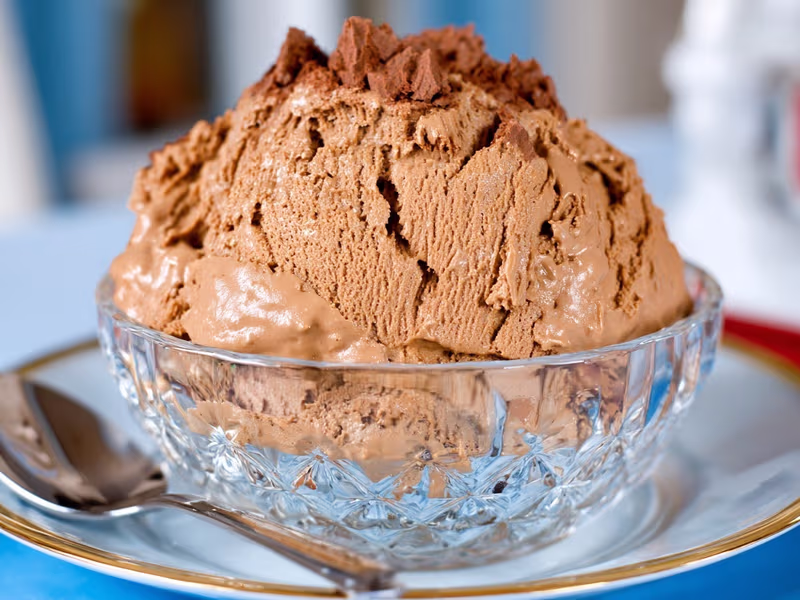
Chocolate Protein Ice Cream
High-protein, low-calorie chocolate ice cream that tastes like a fudge brownie. Perfect for fitness enthusiasts who refuse to give up dessert.
Look for BPA-free containers with tight-fitting lids. The twist-on lid style seals better than snap-on for freezer storage because it prevents the air exchange that causes freezer burn. A pack of 50 deli containers costs less than a few dollars and lasts months.
For Mix-In Prep and Storage
Keep your mix-ins organized and ready to go. Small airtight containers or reusable silicone bags work well for storing prepped mix-ins in the freezer: crushed Oreos, chopped brownie pieces, cookie dough balls, crushed candy canes, chopped nuts. Having your mix-ins pre-prepped and frozen means adding them to a pint takes seconds instead of minutes.
Label each container with the mix-in type and date. Most prepped mix-ins keep for a month in the freezer without quality loss. Nuts can last even longer if stored in an airtight container.
For Compotes and Swirl Sauces
Small squeeze bottles (the kind used for condiments at restaurants) are the best way to store and apply swirl sauces. Make a batch of caramel sauce, berry compote, or chocolate fudge, pour it into a squeeze bottle, and keep it in the fridge. When you are ready to make a new pint, the sauce is ready to drizzle in perfect zigzag lines with zero mess.
Squeeze bottles also give you much better control over the amount of sauce you add compared to pouring from a spoon. The narrow tip creates thin, even lines that produce the most defined swirl ribbons after processing.
The Complete Batch Prep Station
Set up a dedicated prep area for your weekly Creami session. Here is what the ideal batch prep station looks like:
- A large mixing bowl or pitcher for whisking bases
- A kitchen scale for precise measurements (weighing ingredients is more accurate than measuring cups)
- A whisk for combining ingredients
- 6-8 clean pint containers with storage lids
- Masking tape and a marker for labeling
- A small bowl for each mix-in being prepped
- Paper towels for wiping drips
With everything organized and at hand, you can mix 5-6 different bases in under 30 minutes. The efficiency comes from batching similar steps together: measure all the cream first, then all the milk, then all the sugar. Whisk each base, pour, label, and move to the next. This assembly-line approach turns what feels like a big project into a quick, satisfying routine.
Freezer Space Planning
A standard freezer shelf holds 4-6 Creami pints standing upright. If you are a serious Creami user with 8-10 pints in rotation, dedicate one full shelf to your pints. This prevents them from getting buried behind other frozen items and makes it easy to see what you have available at a glance.
For small freezers, stackable pints help. With storage lids on, Creami pints stack 3-4 high without issues. Just make sure the bottom pint is frozen solid before stacking, as weight on an unfrozen base can push the lid off.
If freezer space is truly limited, consider a small chest freezer dedicated to Creami pints. A 3.5 cubic foot chest freezer holds 20-30 pints easily and costs less than $200. For power users who prep 8-10 pints weekly, this is a worthwhile investment that pays for itself in convenience.