Best Ninja Creami Accessories Worth Buying
This post contains affiliate links. If you make a purchase through these links, we may earn a small commission at no extra cost to you.
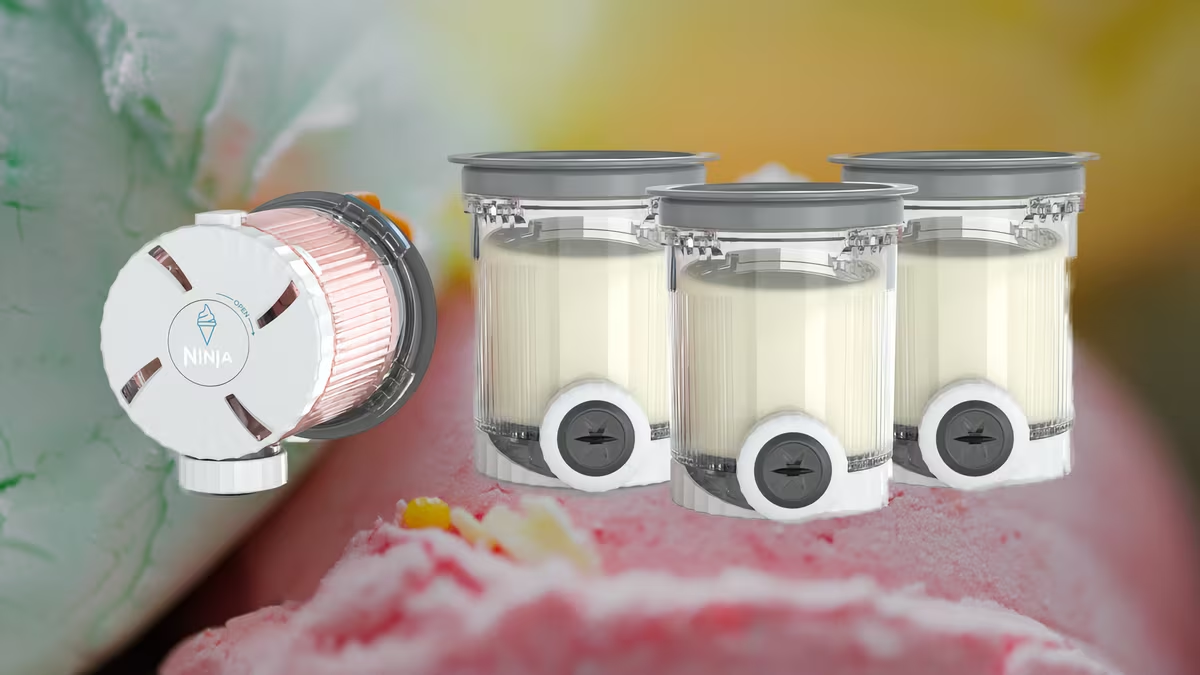
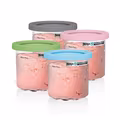
1. Extra Pint Containers (Essential)
If you're serious about your Creami, extra pint containers are the first thing you should buy. The machine comes with only 2 pints, which means you can only have 2 flavors freezing at a time. With a 4-pack, you can batch-prep an entire week of flavors on Sunday and have them ready to process whenever you want. Label each pint with the flavor and freeze date using masking tape and a marker.
The official Ninja pints are worth the premium over third-party alternatives. They're made to exact tolerances for the machine, the lids seal properly to prevent freezer burn, and they're dishwasher safe. Third-party pints sometimes have slightly different dimensions that can cause the lid to pop off during processing.
If you own a Ninja CREAMi with the Scoop & Swirl feature (NC701 or similar), note that the swirl function requires special two-chamber pints that are different from standard pints. Regular pints work fine for all other programs, but you need the dedicated swirl pints to use the dispensing feature. Make sure you order the correct pint type for your model.
 Ninja CREAMi Pint Container 4-PackView on Amazon →
View on Amazon →
2. Kitchen Scale (Highly Recommended)
Measuring ingredients by weight rather than volume is the single biggest improvement you can make to recipe consistency. A cup of heavy cream can vary by 20% depending on how you pour it. 240 grams is always 240 grams. Every professional pastry chef weighs their ingredients, and your Creami recipes will benefit from the same precision.
A good kitchen scale doesn't need to be expensive. Look for one that measures in 1-gram increments, has a tare function (zeroing out the weight of your bowl), and can handle at least 5 kilograms. The OXO and Etekcity models below both meet these requirements.
 OXO Good Grips 11-Pound ScalePull-out display, 1g accuracy, fits Creami pints
View on Amazon →
 Etekcity Food ScaleBudget-friendly, 1g accuracy, compact and backlit
View on Amazon →
3. Ice Cream Scoop (Worth Upgrading)
The Zeroll Original is the gold standard for scooping ice cream, and it makes a real difference with Creami ice cream specifically. Creami ice cream is denser than commercial ice cream because it has less air (overrun) whipped in. A standard scoop struggles with this density. The Zeroll's heat-conductive handle uses your body warmth to help the scoop glide through, producing perfect curls every time.
 Zeroll Original Ice Cream ScoopHeat-conductive handle for effortless scooping
View on Amazon →
4. Insulated Serving Bowls (Nice to Have)
Creami ice cream softens faster than store-bought because it lacks commercial stabilizers and has less overrun (air). Double-walled stainless steel bowls keep your ice cream at the right temperature for 20-30 minutes longer while you eat. They also prevent condensation on the outside, so no wet rings on your table.
5. Measuring Pitcher (Convenience)
A large measuring pitcher with a pour spout makes filling pints clean and easy. You can mix your entire base in the pitcher, read the measurement markings to get the right volume, and pour directly into the pint without spills. Much easier than trying to pour from a mixing bowl.
What You Don't Need
Not every Creami accessory is worth buying. Skip these:
- "Creami-specific" silicone molds. Regular ice cream molds work identically. Don't pay a premium for Creami branding on a generic silicone product.
- Third-party pint lids. The official lids work perfectly. Third-party versions often don't seal as tightly.
- Creami-branded spatulas. Any regular silicone spatula works fine for scraping the pint.
6. Bottle Brush (Essential for Cleaning)
The Creami pint is tall and narrow, which makes it difficult to clean the bottom by hand. A bottle brush with a long handle reaches the bottom easily and removes residue that a sponge cannot reach. This is a two-dollar tool that you will use every single time you clean a pint. Get one dedicated to your Creami pints and keep it next to the sink. It makes the difference between a quick 30-second rinse and a frustrating attempt to reach the bottom with your hand.
7. Squeeze Bottles for Swirl Sauces
Small squeeze bottles (the kind used for ketchup and mustard at restaurants) are the perfect tool for adding swirl sauces to your pints. Fill them with caramel, chocolate fudge, berry compote, or any swirl sauce and keep them in the fridge. When you prep a new pint, the sauce is ready to drizzle in precise zigzag lines with zero mess and perfect control. A 4-pack of squeeze bottles costs almost nothing and dramatically improves your swirl game.
8. Silicone Spatula (For Getting Every Last Bit)
A narrow silicone spatula is the best tool for scraping every last bit of ice cream from the pint after processing. The Creami pint has a slight taper toward the bottom, and a regular spoon leaves a surprising amount of ice cream clinging to the walls. A flexible silicone spatula conforms to the pint's shape and gets everything out. It also helps when mixing bases — you can scrape the blender or mixing bowl completely clean before pouring into the pint, ensuring no wasted ingredients.
9. Masking Tape and Permanent Marker
This is not glamorous, but it is genuinely essential once you have more than 3-4 pints in your freezer. Frozen pints all look identical. Vanilla, banana, and coconut all look white. Chocolate, coffee, and peanut butter all look brown. Without labels, you are guessing every time you grab a pint, and guessing wrong means processing a flavor you did not want.
Masking tape is better than sticky labels because it peels off cleanly when you are done, does not leave residue on the pint, and is cheap enough to use freely. Write the flavor name and the date you made it. The date matters because bases are best within 2 weeks of freezing, and having a date on the tape helps you use older pints first.
Priority Order for Buying
If you are buying accessories one at a time as your budget allows, here is the order that gives you the most improvement per dollar:
- Extra pints — the single biggest upgrade to your Creami experience
- Kitchen scale — transforms recipe consistency overnight
- Bottle brush — makes cleaning fast and thorough
- Ice cream scoop (Zeroll) — better scooping experience with every serving
- Masking tape and marker — essential organization for pennies
- Squeeze bottles — improves your swirl game significantly
- Silicone spatula — reduces waste and helps with mixing
- Insulated bowls — nice-to-have luxury for slow eaters
- Measuring pitcher — convenience upgrade for base mixing
Start at the top and work down. By the time you have the first 5 items, your Creami setup is complete for everyday use. Items 6-9 are refinements that make the experience better but are not essential.
Explore Our Collections
Got your accessories ready? Start making with our tested recipe collections:
📚Ice Cream Recipes for Ninja CreamiClassic and creative ice cream recipes made with your Ninja Creami. Rich, creamy bases with endless flavor combinations — all tested with step-by-step instructions and pro tips. 📚Soft Serve Recipes for Ninja CreamiSmooth, swirly soft serve recipes for your Ninja Creami. Classic vanilla to creative flavors, dispensed perfectly from your Creami's soft serve function — all with step-by-step instructions. 📚Frozen Yogurt Recipes for Ninja CreamiCreamy frozen yogurt recipes made with your Ninja Creami. Greek yogurt bases, fresh fruit mix-ins, and lighter alternatives to traditional ice cream — all with step-by-step instructions.